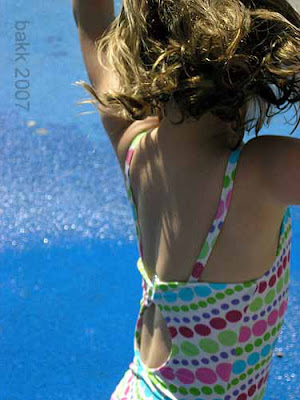
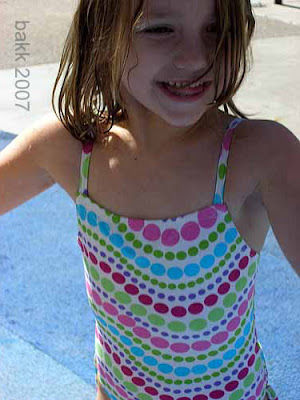
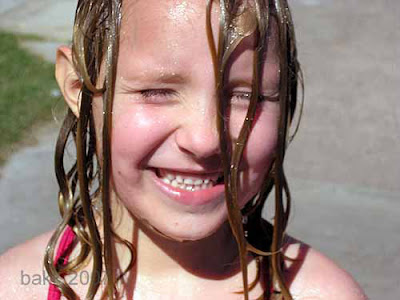
In these shots, I'm trying to capture happiness not the scene at the park. So I zoomed in on their faces only.

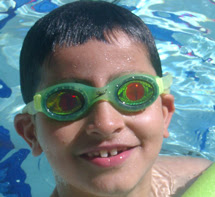
Here I was trying to capture those hilarious goggles. So I zoomed in on the face, while still maintaining a bit of the water in the background so everyone would know we were in the pool and that my brother isn't really a lizard of some sort.
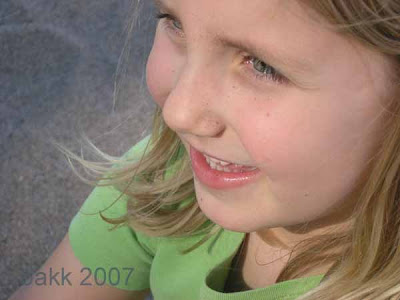 Or, here I am lying on the ground, tilting my camera for the artsy shot.
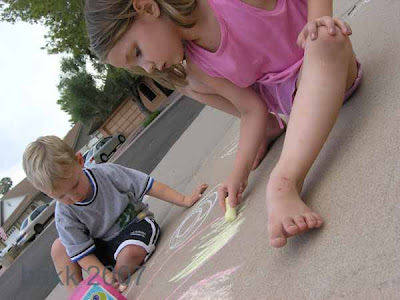
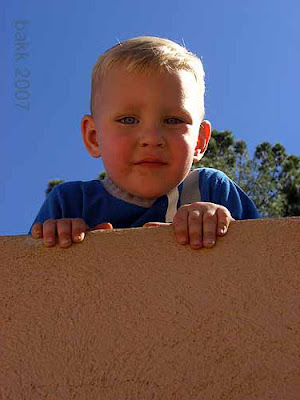
On this one, I am under my 2 year old, looking up.
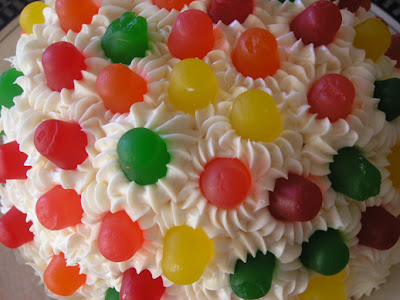
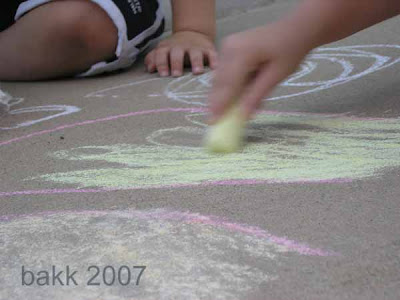
4. Sometimes less is more. Try shooting just a part of an object like I did below for my daughter’s cakes. This technique doesn’t work for everything, but sometimes just a chunk of your subject is a neat photo.

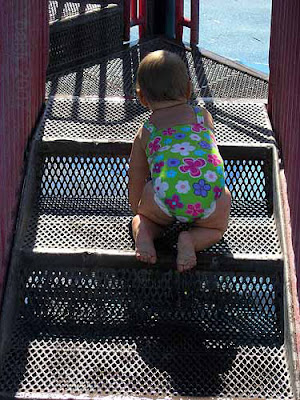
5. Sometimes a frame is nice. Step back and capture that tree on the side or take a photo between arches and see what happens. Here I framed my 10 month old with the railings of the stairs.
6. Lighting is important. My favorite shots are usually outside. However, I know that there are times that I must make do with an imperfect environment. But I can make the most of my situation. For example, I know that when I take a photo inside, facing a window, the subject will look dark so I try to position myself so that my back is to the window. I also know that upstairs in my daughter’s room is a great window with awesome light so I often shoot there. My friend set up a photo shoot in her garage with an old white sheet. The results were amazing. Use what you have.
7. Think in thirds. When you are composing your shot, mentally divide the possible photo into three equal sections. Instead of always taking dead-center photos, try placing your focal point in one of your three sections. See below for examples.


8. Before you click, look for any very distracting elements like a pole shooting up from someone’s head or a dead cockroach in the foreground. You get the idea.
My husband's office was filled with distracting paper stacks so to avoid them, I tried to get a bit closer. This wasn't an ideal environment, but the photo turned out pretty well considering two out of four children aren't looking at the camera.

- 8. Keep your camera accessible. And take that shot when you think of it, you may not get another chance. My baby only wore these glasses for about 17.6 seconds. Luckily, I got my camera in time!

9. Details, details, details. Don’t forget to capture those small daily details. You know, the pile of laundry, the little Matchbox cars lined up in a traffic jam, the makeup on the sink. (Yes, I did get some photos of those stacks of paper in my husband's office.) Those small details often make the best pages. Recently, I was looking at my 2-year-old son’s small shoes and trying to imagine them in 15 years. I took a photo of his shoes (again, the neighbors thought I was crazy) and I plan to scrap that photo with journaling about him growing up.
10. Remember that sometimes someone’s terrible photo is someone else’s treasure. If you do take a bad shot, make the most of it and scrap it anyway. Sometimes those shots that break all the rules (as in heads cut off or bizarre backgrounds) turn out to be my favorites and my creative muscles are strengthened as I scrap them.
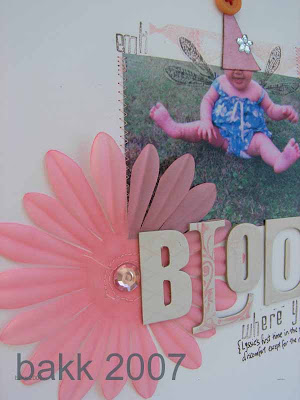
You're going to get sick of seeing this layout, but if you'll look closely, you'll see that my daughter's head is completely cut off. By the rules, this shot should be tossed, but I loved it anyway because her smile and legs are still visible so I stuck a hat on her, gave her some wings and used it anyway. This is still one of my favorite creations.
 Of course, this list is far from exhaustive, but it certainly gives you a starting point. If you apply any of these tips, your photography will instantly improve. And remember, with practice, you’ll start to apply these tips automatically and it won’t take so much thought. Good luck and happy shooting!
4 comments:
Thanks for the grat tips Beth! I love, love, love taking pictures, and I have noticed the more I take the better my pictures turn out. I was actually thinking of taking a class because I want to learn more. I love the pictures you have taken and the angles you use, it really makes a difference.
Hey Bethany,
I'm always looking for photography tips so thank you. Tell me, what kind of camera do you have because I just havea point and shoot too and I feel like I'm the only one who doesn't have a super cool fancy camera. I have a canon A80, what do you have? I too would like to invest in some nicer equipment and may next year but I don't really want to until I feel like I've exhausted all of my cameras options so thanks again for the tips. kristanemartin@gmail.com
HEY BUFFY! i love your blog. your so creative and explain things so well. snaps for you! the different angles really capture the moment haha. love you muchly. joji
These photo tips were great! I have been thinking about photography lately because I am going to be in my garage again today! Lol
Post a Comment